Free Rolling Bunny Tutorial/Pattern

You will need:
Poster board or lightweight cardboard
Freezer or Butcher Paper
Scraps of felted wool
Two buttons
Embroidery floss
Small amount of Wool Roving
Small amount of polyfil
Tools:
Scissors
Embroidery needle
Felting needle
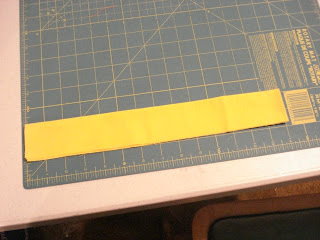
Trace this pattern and cut out of lightweight cardboard.

Trace onto freezer paper, two of body, two of head and one of blanket.
I flipped the head, but that is not necessary if your wool is the same on both sides.

Iron onto wool with the wax side down, hot setting on iron and no steam.

Cut out pieces and blanket stitch the blanket onto one piece of the body.

Beginning at the right side of the blanket start stitching down the top of the back and around the foot area.

Sew the button on and then stitch up to the middle of the bottom and stuff that side with polyfil.

Finish stitching around, repeating adding the button to the other side, leave a small opening at the blanket and finish stuffing the other leg and close up the opening.

Stitch the head and ear starting at the yellow pin and you will finish at the white pin,
however,
you will want to stuff this as you go and indicated in the next three pictures.


Position the head on the body and blanket stitch it to the front and then not breaking the thread
blanket stitch the back area down also.

I made french knots for the eyes, but you could also use a small bead for the eyes.
You can tell in the pictures, but I pulled the thread through to make the eye pull in and knotted it.

With a small amount of wool roving, felt a small ball into the a little ball for the tail.


Felt it right onto the bunny for a tail.

You could also stitch a little face on the bunnies. I did that on some, not on others.
Please use this pattern as you wish, however don't take the pattern as your own.
Links to the post are greatly appreciated...and ...
if you make these, please email pictures to me,
I would love to see what you make.
If you don't wish to make them yourself, they will be for sale on my selling blog,
or
scroll down and enter the giveaway below.
I will be adding items to the giveaway later today, but for now
I have to go out in this mess of snow and go to work.

Comments
HUGS
Lynn
Thanks for sharing
Sabrina
Thanks for the tut~
Have a great day.
Sheila
I love the bunnies you made.
Karen
Thanks for sharing!
Carmen and the Primcats
Deb
sandraallen260@centurytel.net
Can't bring myself to getting into wool, another hobby can't happen. Not enough storage space.
They sure look fun to make tho.
Les
Hope you have a good day!
*hugs*
Debbie K
Prim Blessings! Robin
I love these little guys every time I see them hopping around your blog ;-)
Blessings,
Becky
Thanks for sharing these are adorable.
Kat
Helen