Wool Owl Tutorial
You will need:
Lightweight cardboard or card stock
Freezer paper
Scraps of felted wool or other fabrics.
Small amount of embroidery floss
Small amount of Polyfil
Regular sewing supplies.
2 small buttons.
and
a short amount of time!
If you right click on this picture and copy it to your computer
you will then be able to print this out for your pattern.
I am not sure about the sizing.
You may have to play around with that.
Sorry, I am not a computer whiz!

I always use a circle template for my circles.
Trace the pattern pieces onto heavy card stock or lightweight cardboard
and cut out.

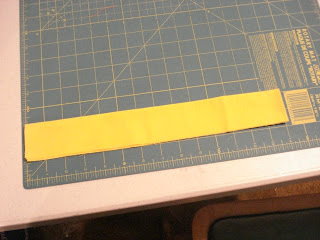
Then trace them onto freezer paper.

Head on over to your stash of wool.
Mine just happened to be still laying on the floor from the last project.

And pick out your colors...
then iron the pattern on to the wool.
The waxy side sticks just enough.

Cut out all pieces.
(That is my favorite part)


Begin blanket stitching everything down.
I start with this side and go to the other wing,
then straight to the eyes and nose.
You never have to break and knot the thread that way.
Shortcuts...that is what it is all about!

Now when you get to this point, you might notice that that pattern,
or your (my) sewing is not exact on the wings.
Just trim that up and you are good to go.

Sew around the edges with a blanket stitch and stuff with a small amount of Polyfil.

Stitch up the rest and you have a cute little bowl filler or ornament.

I took the liberty and artistic license to make them smaller.
The first idea was not mine though!
Also, I have used scraps of other fabric than wool for the eyes, beak and wings on some of them.
Some of it is very hard to sew through though, so be careful what you choose.

Comments
Happy Saturday ~Natalie
Love the tutorial. Looks fun.
PS love that wool pile.
Thanks for sharing!
Prim Blessings
Robin
patti :)
xoxo~Carol