Long Legged Sheep Painting Tutorial

Before we start,
here are the warnings.
THERE IS NO LINE DRAWING!
THE COLORS ARE FLEXIBLE!
THE BRUSHES ARE SUGGESTIONS!
OK, that being said....
Relax and have fun with this.
I used:
#2 long liner
1/2 " glaze wash brush
#4 round brush.
Paints
Decoart Americana
Khaki Tan or Sable Brown
or any other beige.
Bleached Sand
Light Cinnamon
Black
Antique Gold
Avocado
Midnight Blue
Russet
or
Background color of choice
Blanket color of choice
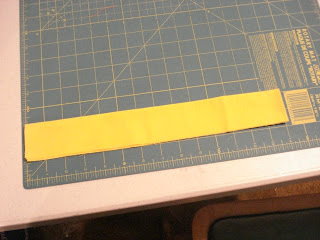
Any long skinny wood item would work for this.
Measure out where you want the checkered border.
Paint that area with Bleached White and shade the edges.
Allow to dry and then tape the area that you want to remain white,
and then paint back over the tape.
Below you will see those steps from left to right.
Repainting over that seals the tape and does not allow the next color to seep under.
It makes for a really clean edge.

I painted the top Russet.
The bottom can be sponged
or
crackled
or distressed
and can be any color.

At this point you can cut a piece of paper for a pattern for the body,
and trace around it
or..

just take a piece of chalk
and draw them in.
Really,
it's not hard
and they don't have to be any certain shape!

I paint them with whatever color I have handy.
These are
from left to right.
Khaki Tan, Sable Brown and Slate Gray.
While the paint is still wet and
without rinsing your brush,
just pick up some Bleached Sand
and blend a little into the body for a highlight.
Don't OVER blend.
Just slip slap it in there.

With thinned Bleached Sand,
make a bunch of little swirlies.
Twirl them both ways,
big ones and little ones.
Again,
Primitive not Perfect!!!

Paint in the blanket in your color of choice.
I used Avocado
in the interest of time this morning
and then used the same for the grass.

Highlight the blanket a little on the bottom
by mixing the blanket color and
whatever color that you used for the body.

The legs and head and tail and ears...
just black.

Stencil a star on the blanket.
Or
make it your own with a painted penny,
glue a button on.
Be creative.

Then,
with either
Light Cinnamon
or
Milk Chocolate
float shade the body.
Add as many details as you would like.

And you are done!
How easy was that?
Do you even realize how fast you could paint these?
OK,
and one final word.
Share this,
Paint these,
Sell these.
Whatever you want to do.
Just please,
don't take the instructions as your own.
I gave them to you for free.
Link this and send it to anyone else you would like.
And...
if you paint any of these sheep...
I would love to see pics of them!


Comments
Enjoy your day,
Barb
You make it look so easy...I may have to pull out my big clips that I've had for...oh....2+ years...
Thanks for the Tut Girlie...I'll post it on my new obsession-pinterest.
patti
Have a wonderful weekend!
Sandi
sandraallen260@centurytel.net
Have a great weekend..
xx
Hugs,
Lynn