Free Pennant Tutorial...Very Easy!

First of all,
I had big plans for yesterday.
I had a list.
A big list.
But first, I wanted to try to make a set of these pennants
for my camper.
And that is where the day went awry.
They were just too much fun!
Seven sets later...
and nothing on the list done...
the least I can do is tell you how to make them.
You will need:
Scraps of material
Backing fabric
Heat and Bond
Double fold wide bias tape
Sewing machine
Scissors or Rotary Cutter.

OK,
to start.
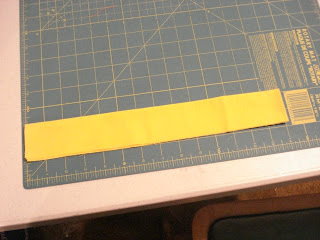
If you don't have a rotary cutter and mat,
you will need to make a pattern from cardboard of a pennant.
I cut some 6 inches by 8 inches,
4 inches by 6 inches
and
4 inches by 5 inches.
Cut a rectangle any of these sizes,
find the middle of the smaller end and draw a line from the upper
corner to that middle line on both sides and cut out.

It is much easier with the rotary cutter.


When you have enough cut,
iron the heat and bond onto the backing fabric.
I used these table napkins for a couple of them,
muslin for some
and
just cotton fabric for others.

Then peel back the paper from the heat and bond
and fuse the pennants to the backing fabric,
I keep the paper and iron it over the pennants to protect my iron.

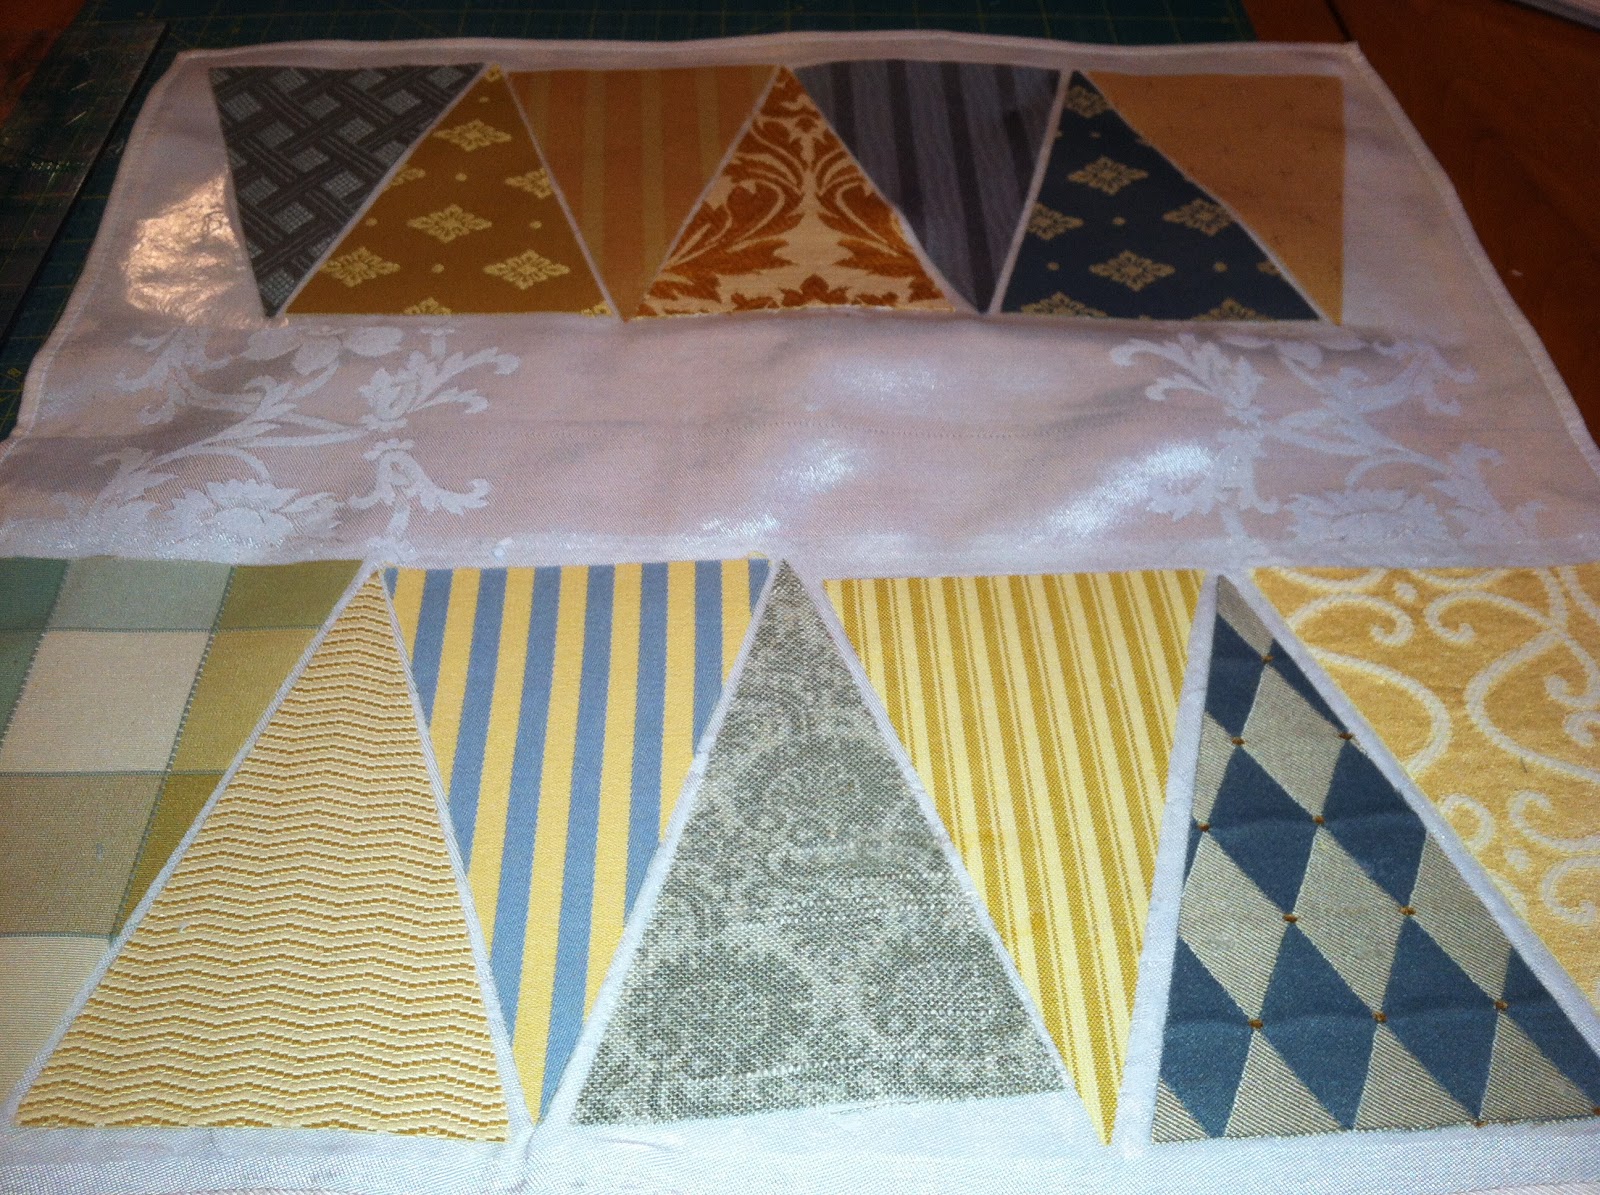
Trim the pennants
and
zig zag stitch them
in the
double fold bias tape leaving
about 6 inches on either end.

Simple and done!

A set for my camper,
a set for Kendall's room,
a set for Gracelyn's room,
a set for my fireplace,

and who knows...
Christmas presents
and
maybe a set for a giveaway....
keep watching.
And then I had to clean up the mess...
(well, who am I kidding, I didn't clean up the mess)
and head out
to
high tea
with some friends
that I have not spent time with in so long!

What a nice evening!
Not really sure how I got front and center,
I usually try to avoid that position in photos.

Comments
Looks like a fun time with a wonderful group of friends. Good for you!
Have a great Sunday~
Thanks for the tutorial! I've been wanting to make one of these for myself, now I know how!
Take Care!!
sandraallen260@centurytel.net