Primitive Carrots Tutorial

A couple of years ago,
I made the girls Easter décor
for
Christmas.
We laughingly called these the $200 carrots
because of all the time invested in them.
Since then I have simplified the process a little
and now actually enjoy making them.
You will need:
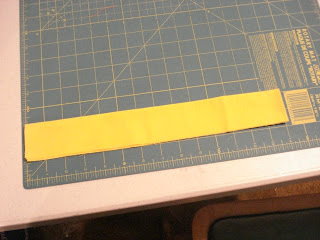
Aluminum Foil
Twine
Scraps of fabric
Some type of tags (I used paper office supply ones)
Bits of greenery
Hot glue gun
Dark and light orange paint

For one carrot, I use about 12 inches of aluminum foil.

Fold it once to about an 1 1/2" from the side
and then again about 2" down.
This helps make the shape of the carrot.

Roll it up and scrunce it in on the bottom.

Glue the twine to the bottom.
Then glue the greenery in the top.
This allows the glue to set up on the bottom before you
start wrapping and honestly saves some finger burns.

Then simply start wrapping.

Until they are covered.

I painted mine first with Decoart Burnt Sienna and Cranberry Wine.
Don't mix it, just go back and forth.
Drybrush with a brighter orange.
Your choice,
I think that I used Pumpkin Spice?
While they are drying,
grungy up some tags and write on them.
Just use a sharpie!

Tie them together and you are done!
How easy is that?
As a side note,
when I was in Michaels yesterday,
I saw all kinds of cool colored twine including orange!
You could save a step by
just using orange twine.
JWS bought a huge box of twine for me
at an auction so actually,
I am stash busting with these.
In the event that you are following along....
503 items are gone from my house this year!
Woohoo!

Comments
I'm gonna have to make me some of these!
Sandi
I need to find some greenery!